Core Stability Basics: Beyond Sit-Ups
5 min read
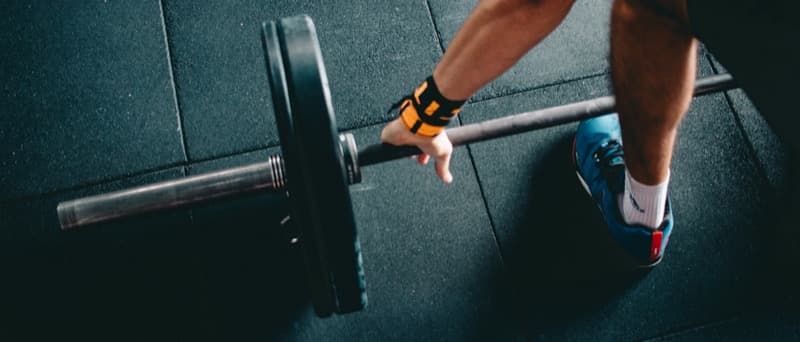
Ask most people how to train their core and they will describe sit-ups — lots of them, ideally while hating every second. Yet when I design core stability exercises for patients across Liverpool, sit-ups rarely make the list. Your core is not just the "six-pack" muscle at the front; it is a complete cylinder of muscles — deep abdominals, back muscles, obliques, glutes and diaphragm — whose real job is to hold you steady while your arms and legs do the work. Training that job well matters for everything from lifting shopping to easing back pain. Here are the five exercises I actually prescribe, and exactly how to do them.
Why core stability matters (and what it isn't)
A stable core is not a rigid core, and it is not about achieving visible abs. It is the ability to control your trunk under load — when you lift a child, carry bags from the big shop, swing a golf club or get through a long shift on your feet. Research supports trunk and hip strengthening as part of managing low back pain and improving performance, though I will be honest with you: no single "magic muscle" needs isolating, despite what you may have read. What works is progressively challenging the whole system. That is what the exercises below do.
Before you start: work on a mat, move slowly, and breathe throughout — never hold your breath. Mild muscle effort and next-day soreness are fine; stop on any sharp pain, and skip anything that provokes symptoms into your leg.
1. Dead bug
Lie on your back, arms reaching to the ceiling, hips and knees bent to ninety degrees like a beetle on its back. Gently flatten your lower back towards the floor. Slowly lower your right arm overhead and straighten your left leg towards the floor — without letting your back arch — then return and swap sides.
- Do: 3 sets of 8 each side, slow and controlled
- Form cues: the movement stops the moment your lower back starts to lift; smaller is better
- Progression: hold a light weight in your hands, or hover the heel just above the floor between reps
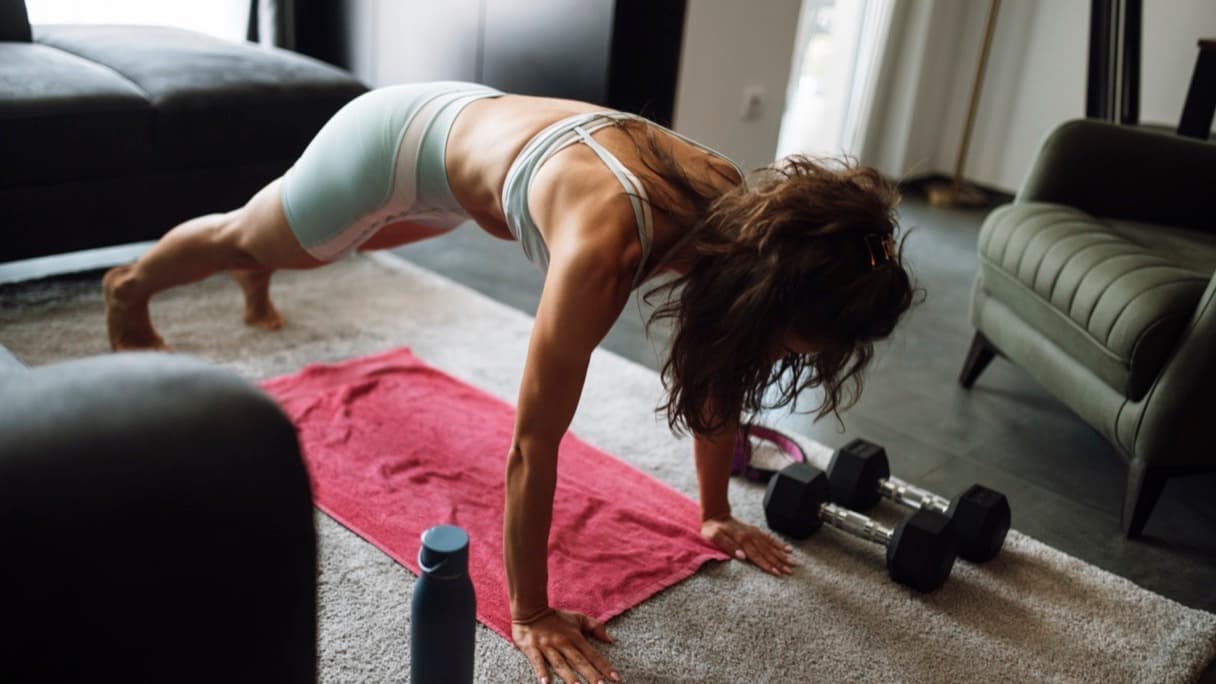
2. Bird dog
On hands and knees, hands under shoulders, knees under hips. Reach your right arm forward and left leg back until both are level with your trunk, pause, and return without wobbling. Imagine balancing a mug of tea on your lower back.
- Do: 3 sets of 8 each side, with a two-second pause at the top
- Form cues: keep hips level; reach long rather than high
- Progression: touch elbow to knee under your body between reps, or hold each rep for five seconds
3. Glute bridge
Lie on your back, knees bent, feet hip-width apart close to your bottom. Push through your heels and lift your hips until your body forms a straight line from shoulders to knees. Squeeze the glutes at the top; lower with control.
- Do: 3 sets of 12
- Form cues: drive through the heels, and finish the lift with your glutes rather than arching your lower back
- Progression: single-leg bridges (3 sets of 8 each side), or slow the lowering phase to four seconds
4. Side plank, modified
Lie on your side, propped on your forearm with elbow under shoulder and knees bent. Lift your hips so your body forms a straight line from head to knees, and hold. This trains the obliques and the often-neglected side of the hip — muscles that earn their keep on every single step you take.
- Do: 3 holds of 15–20 seconds each side
- Form cues: think "long and tall" — do not let the hips sag or the shoulder shrug into your ear
- Progression: straighten the legs into a full side plank, then add a slow top-leg lift
5. Pallof press
The anti-rotation king. Anchor a resistance band at chest height (a door anchor works well at home), stand side-on holding the band at your chest with both hands, and press it straight out in front of you. The band tries to twist you towards the anchor; your core's job is to refuse.
- Do: 3 sets of 10 slow presses each side
- Form cues: ribs down, hips still, exhale as you press
- Progression: step further from the anchor, use a heavier band, or hold each press for five seconds
Building these into your week
Run this as a circuit — one exercise after another, rest a minute, repeat — and it takes about fifteen minutes. Two to three rounds per week is plenty, and you should feel the exercises getting easier within three to four weeks; that is your cue to progress. Consistency comfortably beats intensity here. Most of the people I work with across Merseyside manage it best by attaching the circuit to something already in the diary — after a Tuesday evening walk, or the morning before Saturday football.
One honest caveat: if you are doing these because of ongoing back pain, core work is one useful ingredient rather than the whole recipe. If your symptoms are not improving after a few weeks, or pain is stopping you exercising at all, a proper assessment will find what is missing — that is exactly what my musculoskeletal physiotherapy sessions are for, and I provide dedicated back pain physiotherapy across Liverpool and Merseyside as home visits, or online wherever you are in the UK.
Want a programme built around your body rather than a blog post? Book at /portal/book or call +44 7443 357020 — appointments evenings Monday to Friday, plus Saturday and Sunday daytimes, no GP referral needed.